After creating a Constant Contact account in the V3 API Developer Portal, you can create a new application integration by completing the procedures that follow.
STEP 1: Log In
- Open the V3 API Developer Portal and click My Applications.
- Click Log in, then enter your user name and password.
- Click the My Applications tab, then click New Application.
STEP 2: Name Your Application
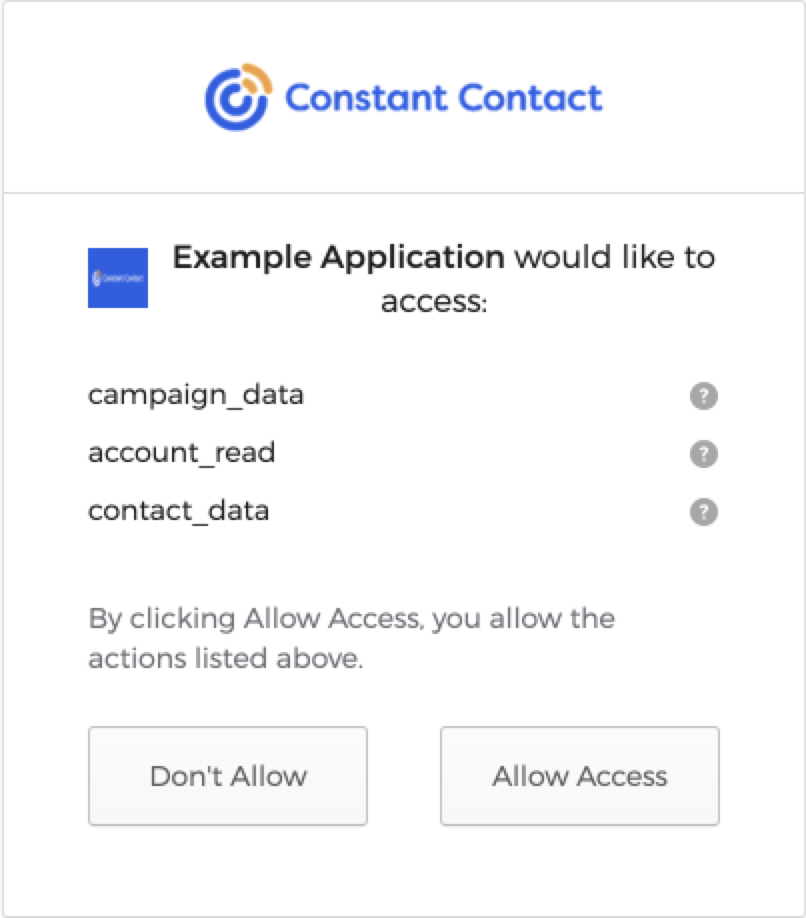
Your application name displays to the user when Constant Contact prompts them to grant your application access to their data. The application name cannot contain “Constant Contact”.
To register your application, enter a name for your application and click Save. Your application’s details page displays. You should save the API Key and secret to a secure location.
-
API Key (
client_id) - The unique key used to authenticate calls made from your application to the V3 API. Constant Contact generates the the API Key when you name and register your application. Save the API Key to a secure location. -
Secret (
client_secret) - Generate the secret used to authenticate requests made to the Authorization Server. Theclient_idandclient_secret(client_id:secret) are base64 encoded and the resulting hash is used in the authorization header for calls made to the Authorization Server. Save the secret to a secure location.
STEP 3: Specify Redirect URI(s)
Specify the redirect URI(s) to use that tells the Authorization Server where to send the user after they authorize or denied your application access to their Constant Contact data. You can specify multiple redirect_uri's. URI fragments are not supported.
[CLICK] Learn more about Wildcard Restrictions
- As of 1/20/22, wildcards are no longer supported in URL parameters.
- You can only use one wildcard and it must be part of the lowest level subdomain in the
redirect_uri. For example:- The redirect
https://*.mydomain.comwill work withhttps://1.mydomain.comorhttps://2.mydomain.com. - The redirect
https://*.mydomain.comwill not work withhttps://1.2.mydomain.com.
- The redirect
- You cannot use wildcards with query parameters. If you need to pass any kind of value through the OAuth2 flow, you need to use the OAuth
stateparameter to pass that value with the proper URL encoding. If you have multiple values, you will need to encode them together before passing them through using thestateparameter. - There must be at least one subdomain present between the top level domain and subdomain, in which the wildcard is present (
https://mydomain.comis not allowed). - The wildcard cannot span more than one subdomain (
https://*abcdef.mydomain.comwill not matchhttps://workflows.abcdef.mydomain.com).
STEP 4: Select the OAuth2 Flow to Use
Applications that integrate with Constant Contact using the V3 API, must use the OAuth2 authorization protocol to securely authenticate a Constant Contact user account, and to be granted access to that user’s data.
The steps in the OAuth2 flows differ depending on where the client application is installed and where it is executed. Successful authorization starts by sending a user authorization request to the Constant Contact Authorization Server, and ends when the server replies back to the client application with the user’s access token. The access token is then used to make calls to the V3 API in order to get access to the user’s Constant Contact data.
If you do not know which OAuth2 flow to use for your application, see the OAuth2 Overview.
STEP 5: Describe Your Application to Users
-
Name your application: You can choose to rename your application or accept the name you previously specified. This is the name that identifies your application to users when they are prompted to authorize your application to access their Constant Contact data. For example:

-
Specify the application logo URL to use: The logo is automatically sized to fit proportionately on the Grant Access page that is presented to the user.
-
Describe your application: Provide a meaningful description that helps users to identify your application.
STEP 6: Modify Your Application Code
After you create your application, modify your application’s code to use the OAuth2 flow you specified. For details, see :